Someone asked me what the simplest and most popular way to make pictures into a film in Christchurch is. I definitely suggest iMovie. iMovie is a popular video editing software that is accessible on Apple devices such as Macs and iPhones. It is used by both amateur and professional video editors.
iMovie is a very favoured tool if you want to turn your photos into a video. Here I will show you how to use iMovie even though you have never used it before because it is simple.
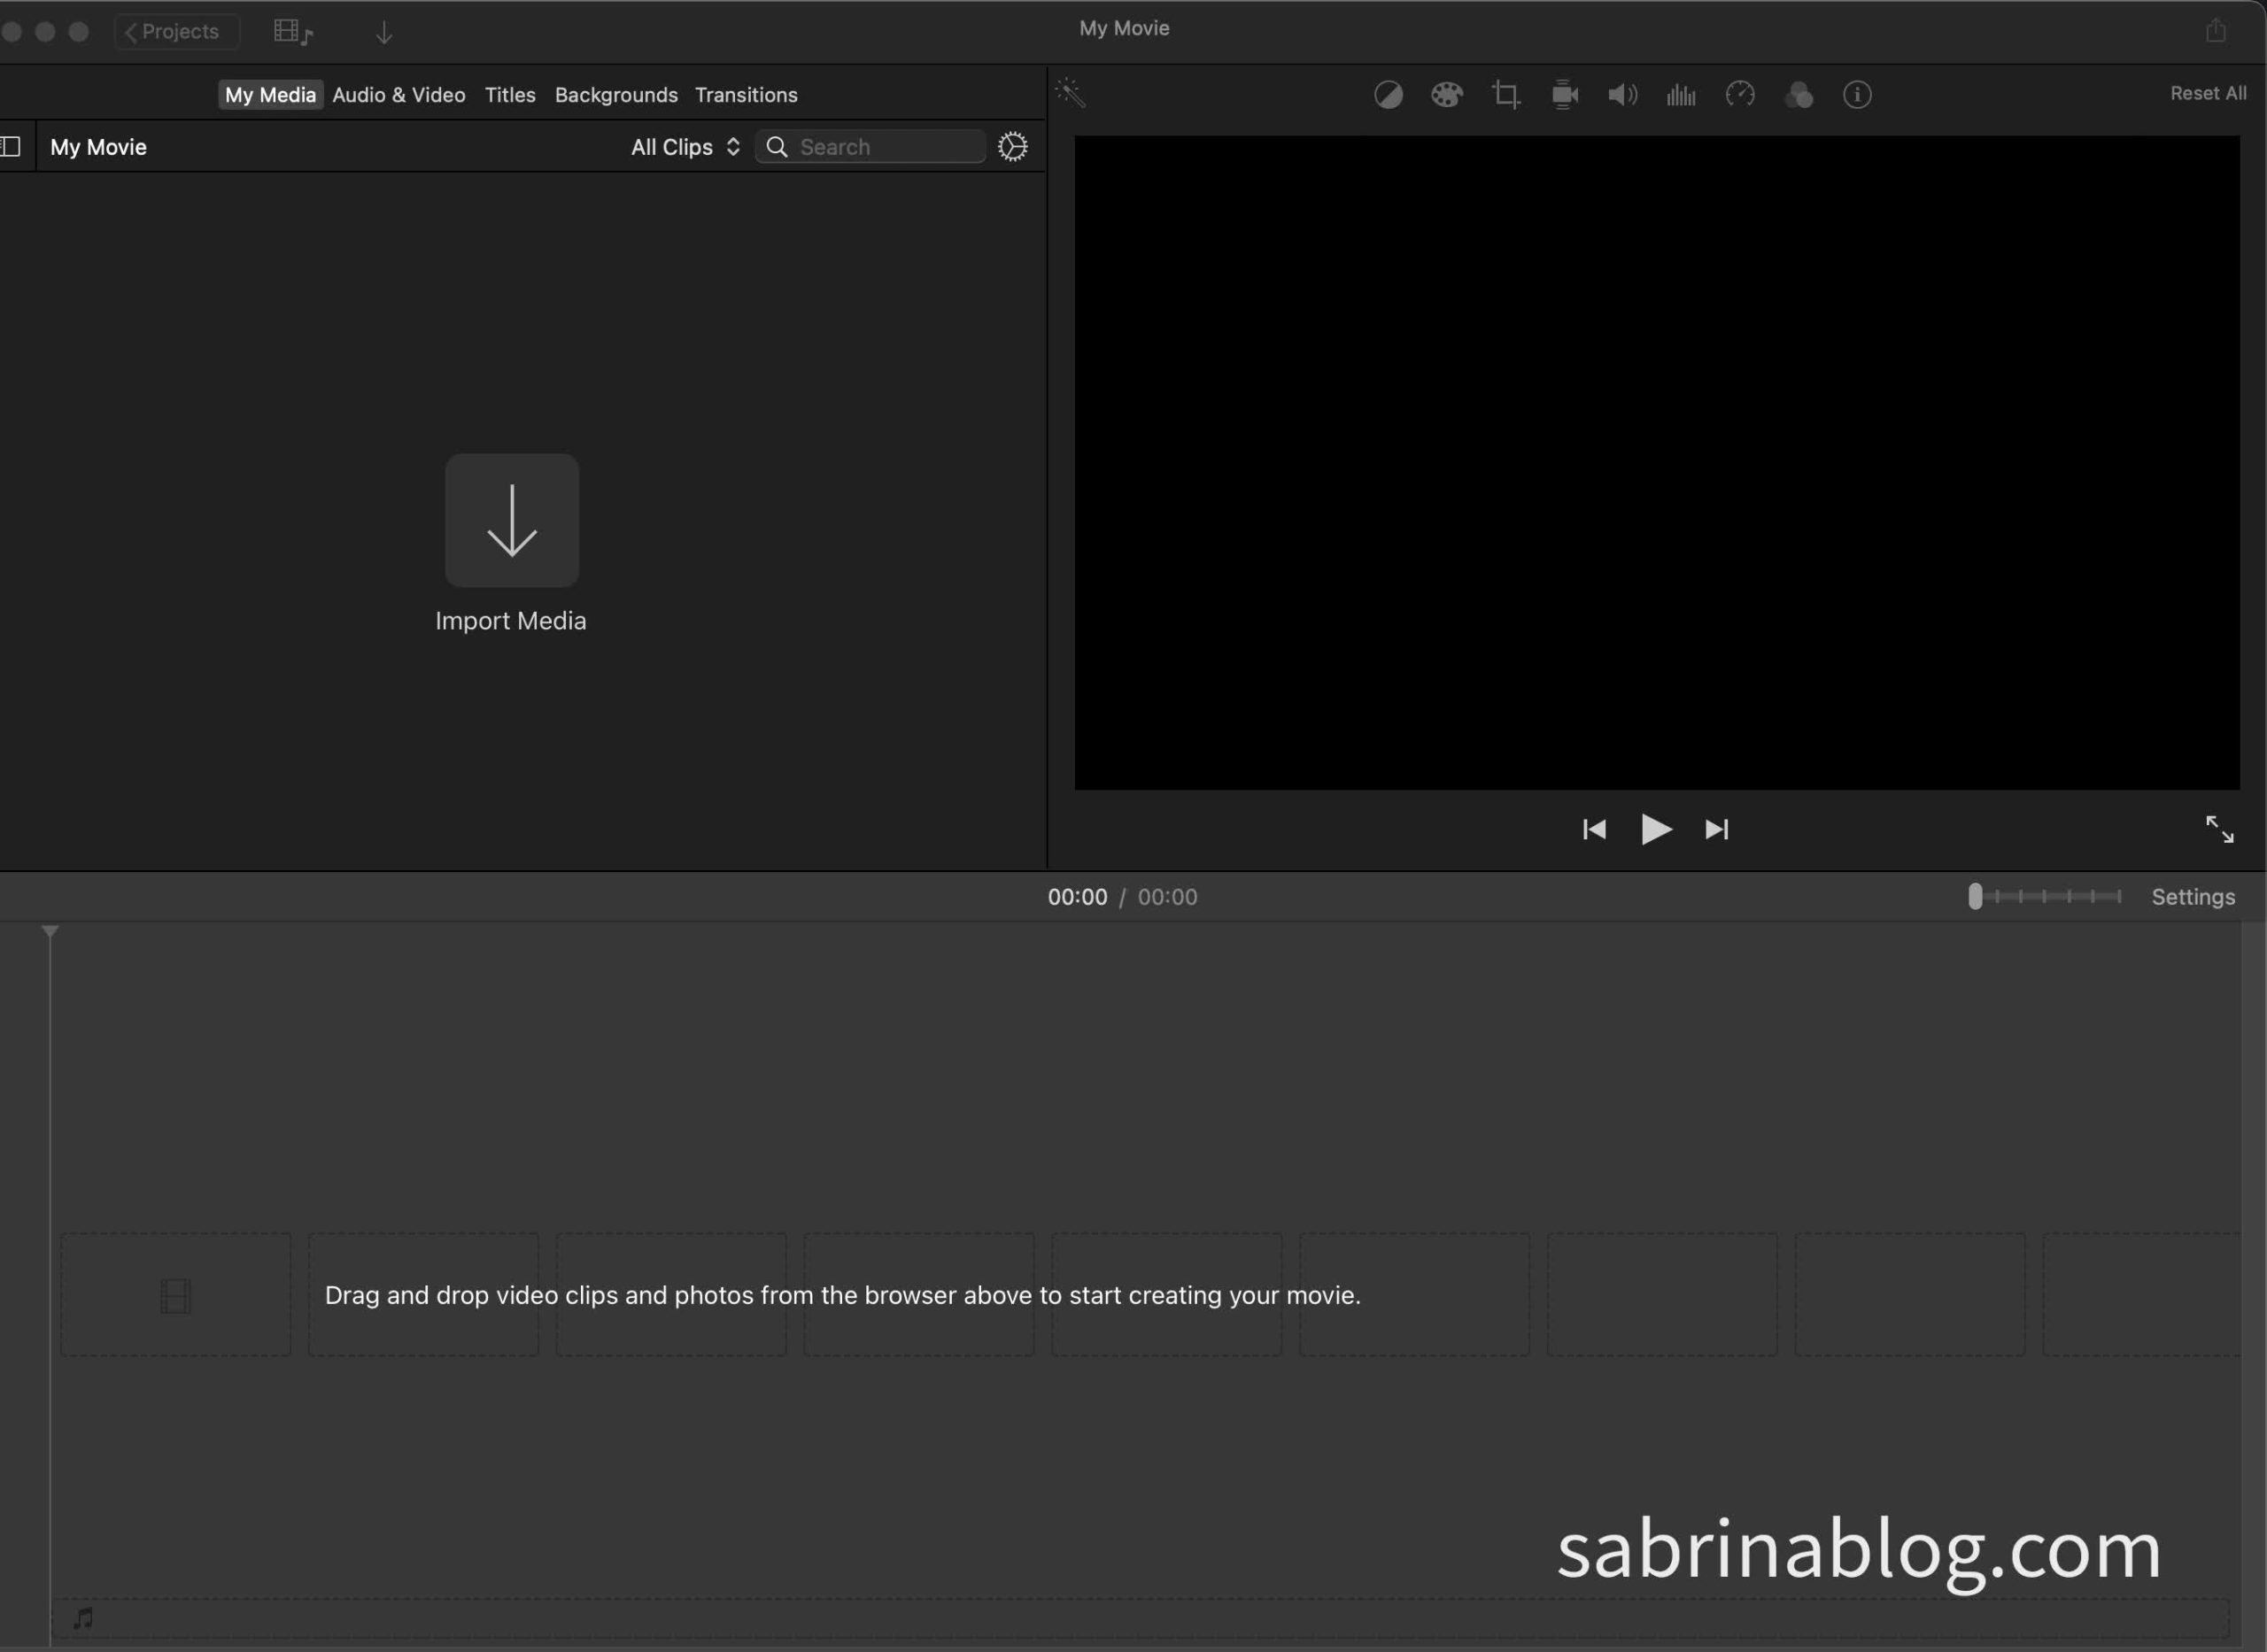
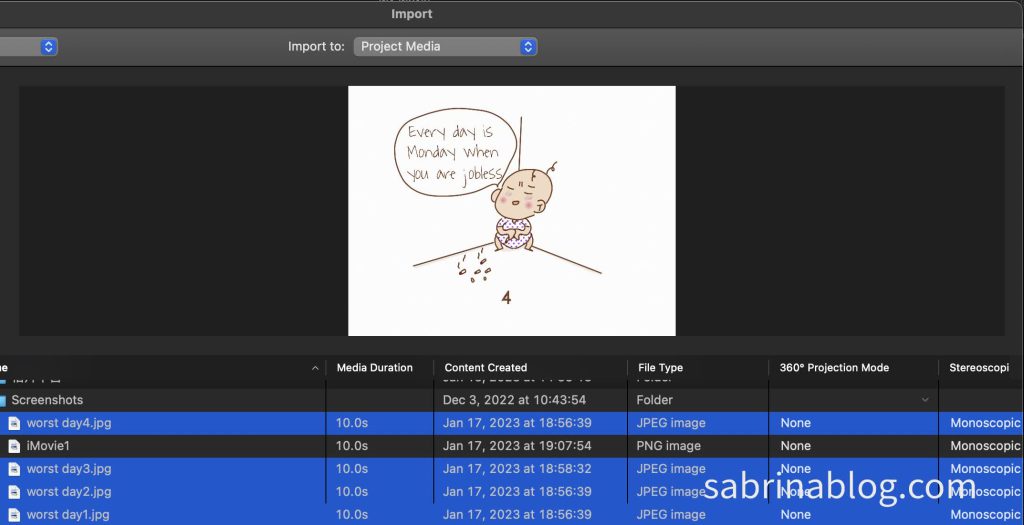
Open the iMovie on your computer, click the downward arrow and import the pictures you selected.
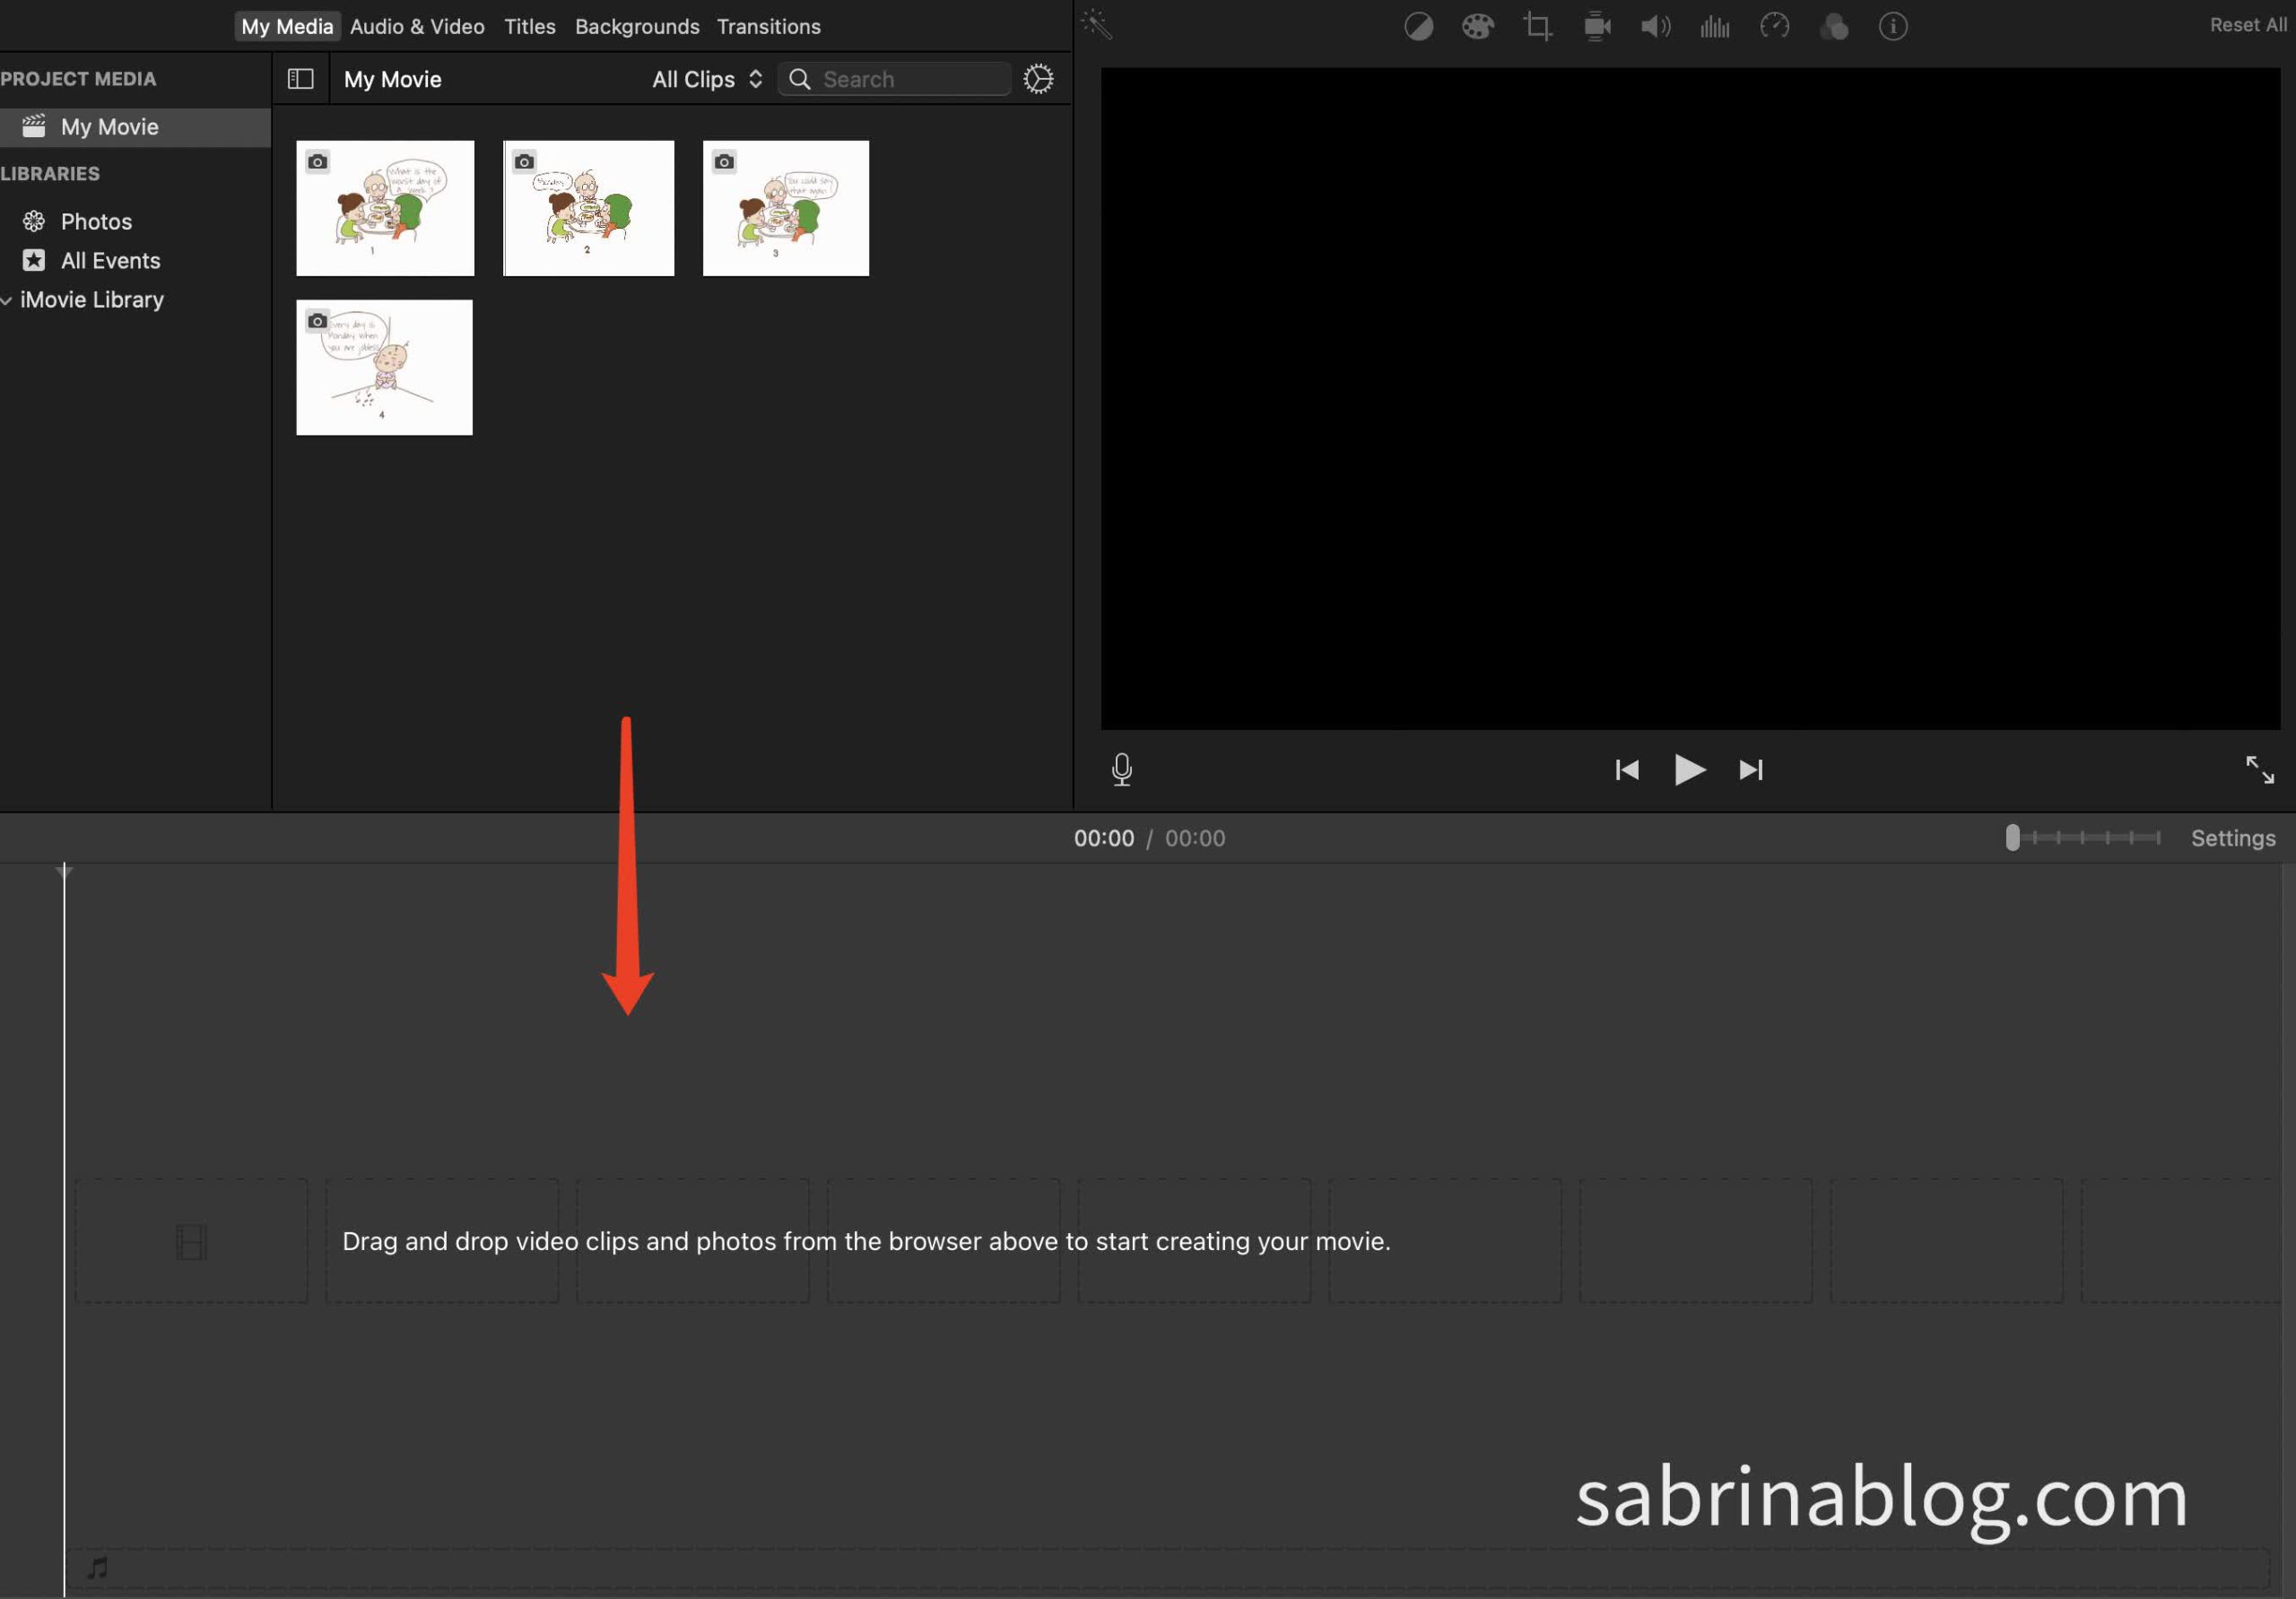
Drag pictures to the below area. See the red arrow.
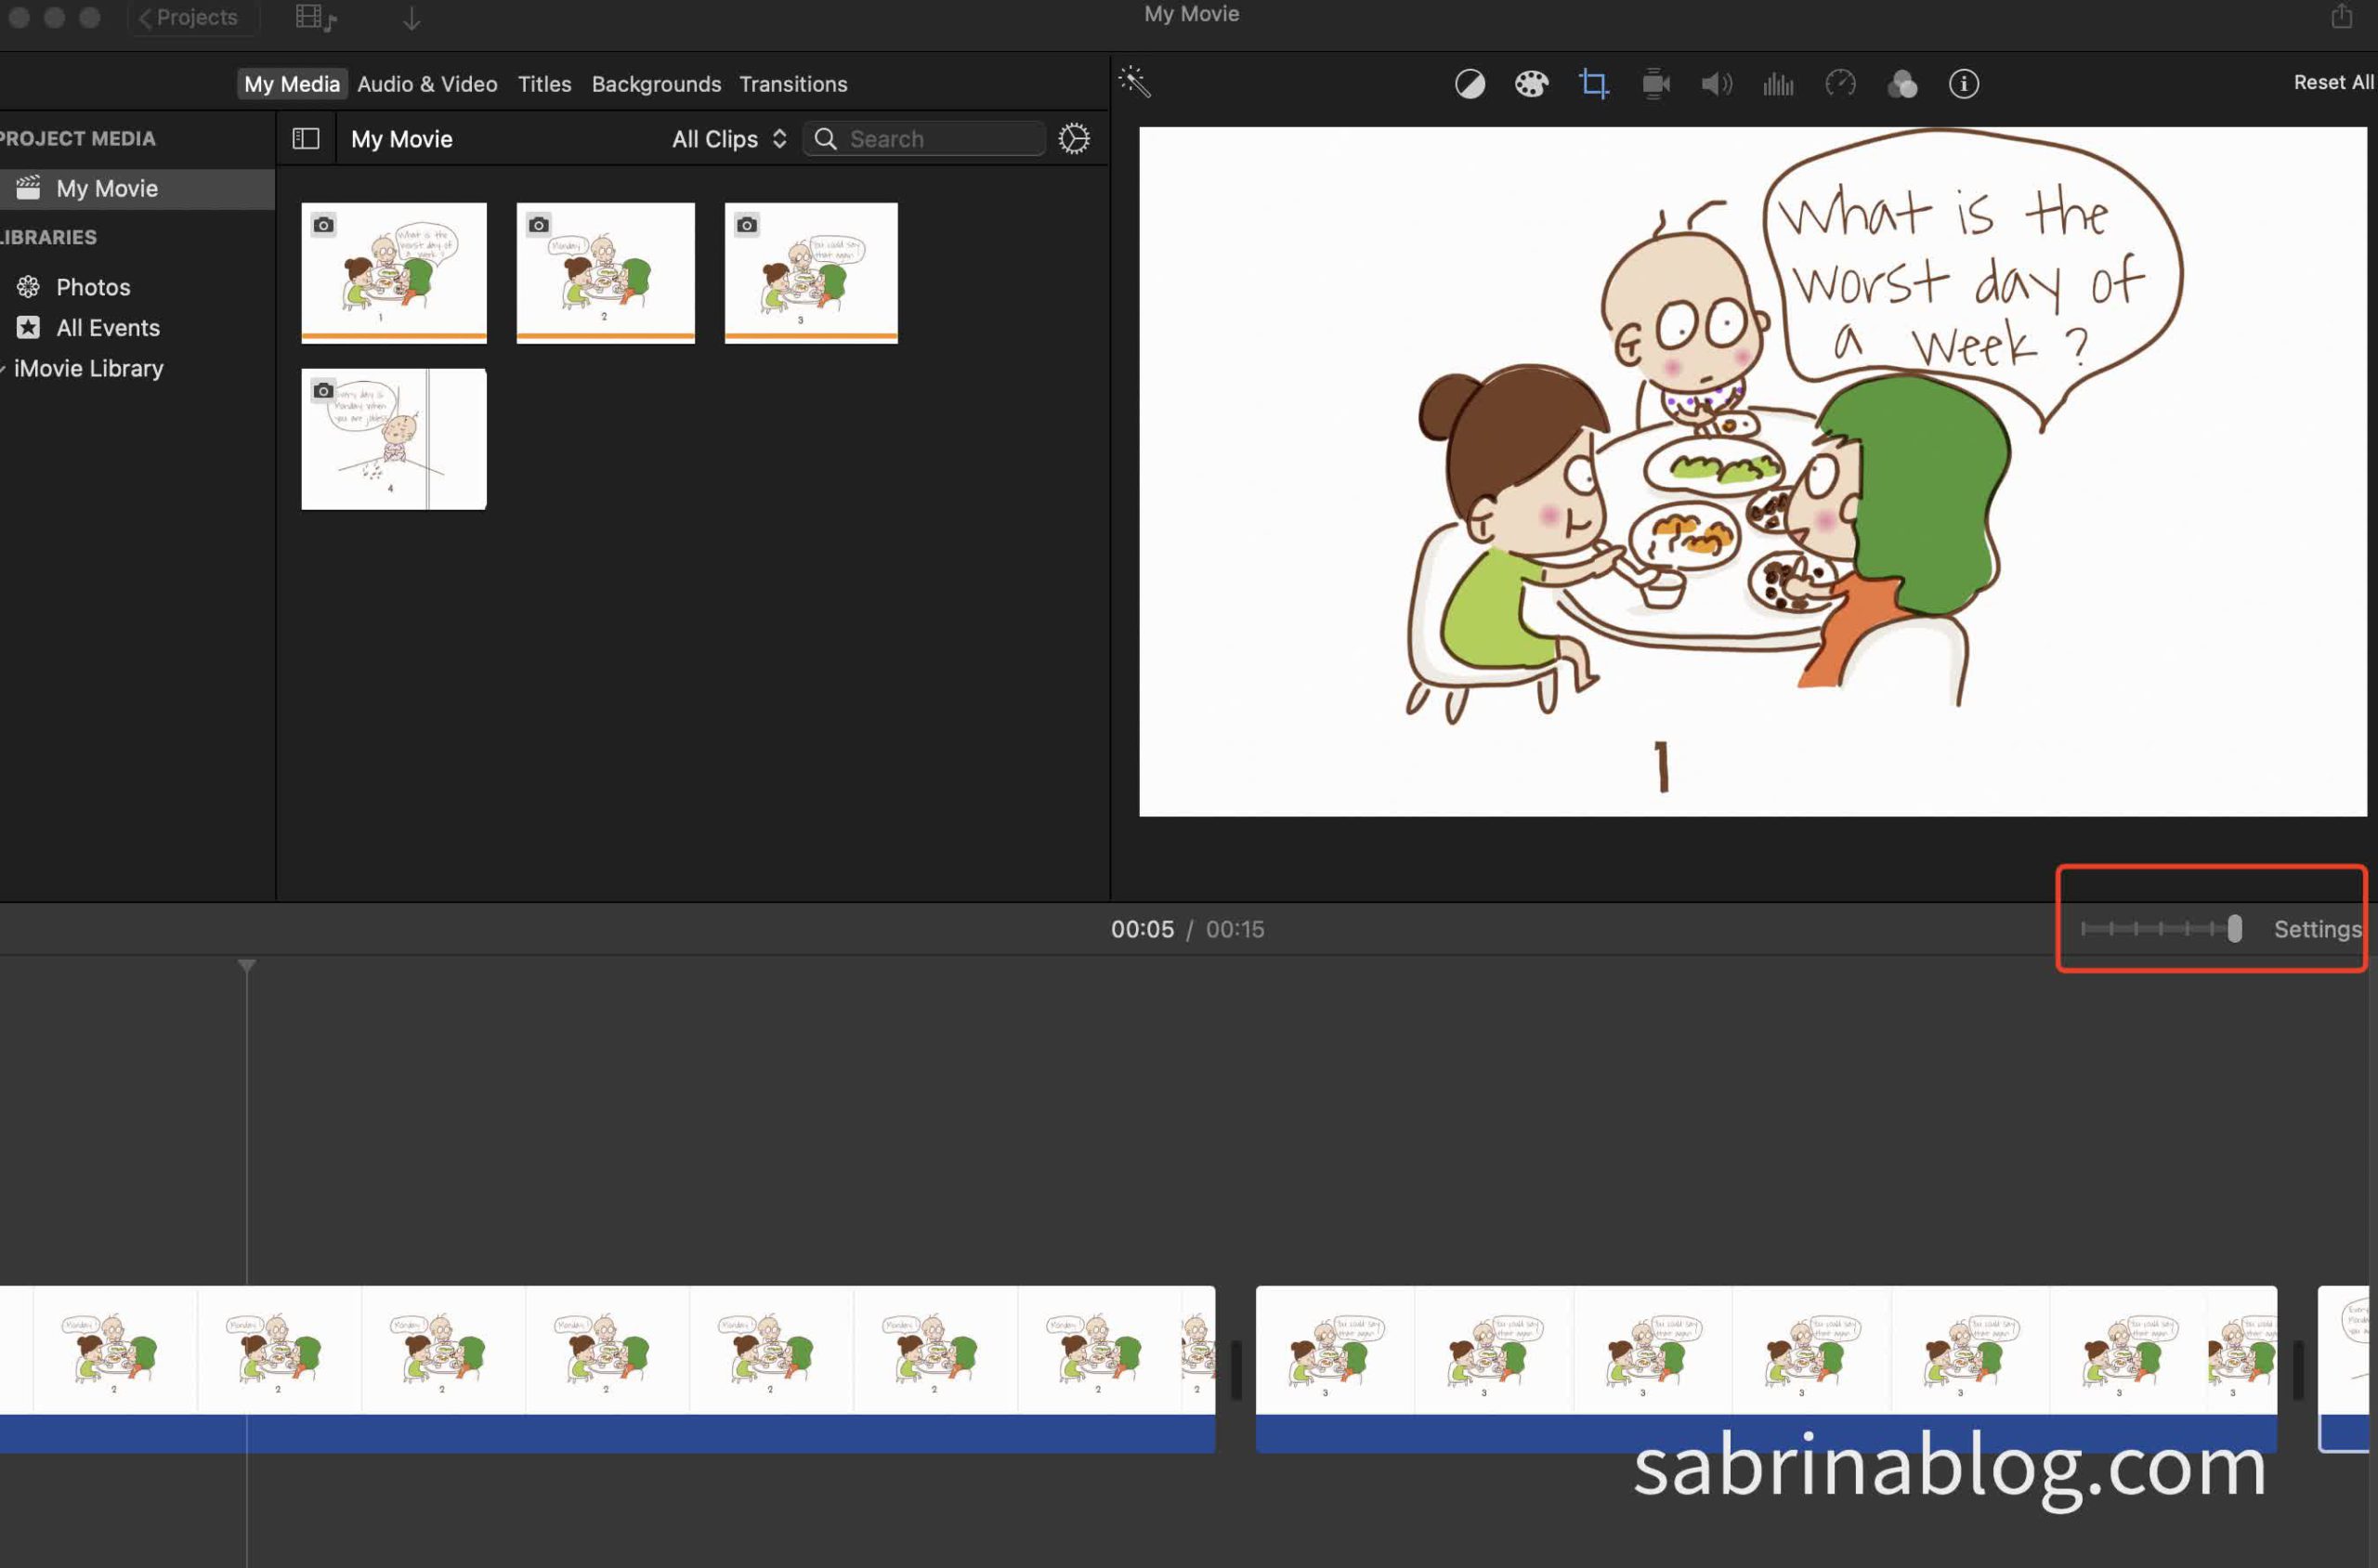
After the dragging, you may see each picture showing the multiple same pictures. In order to see it clearly, you can move the settings to the left.
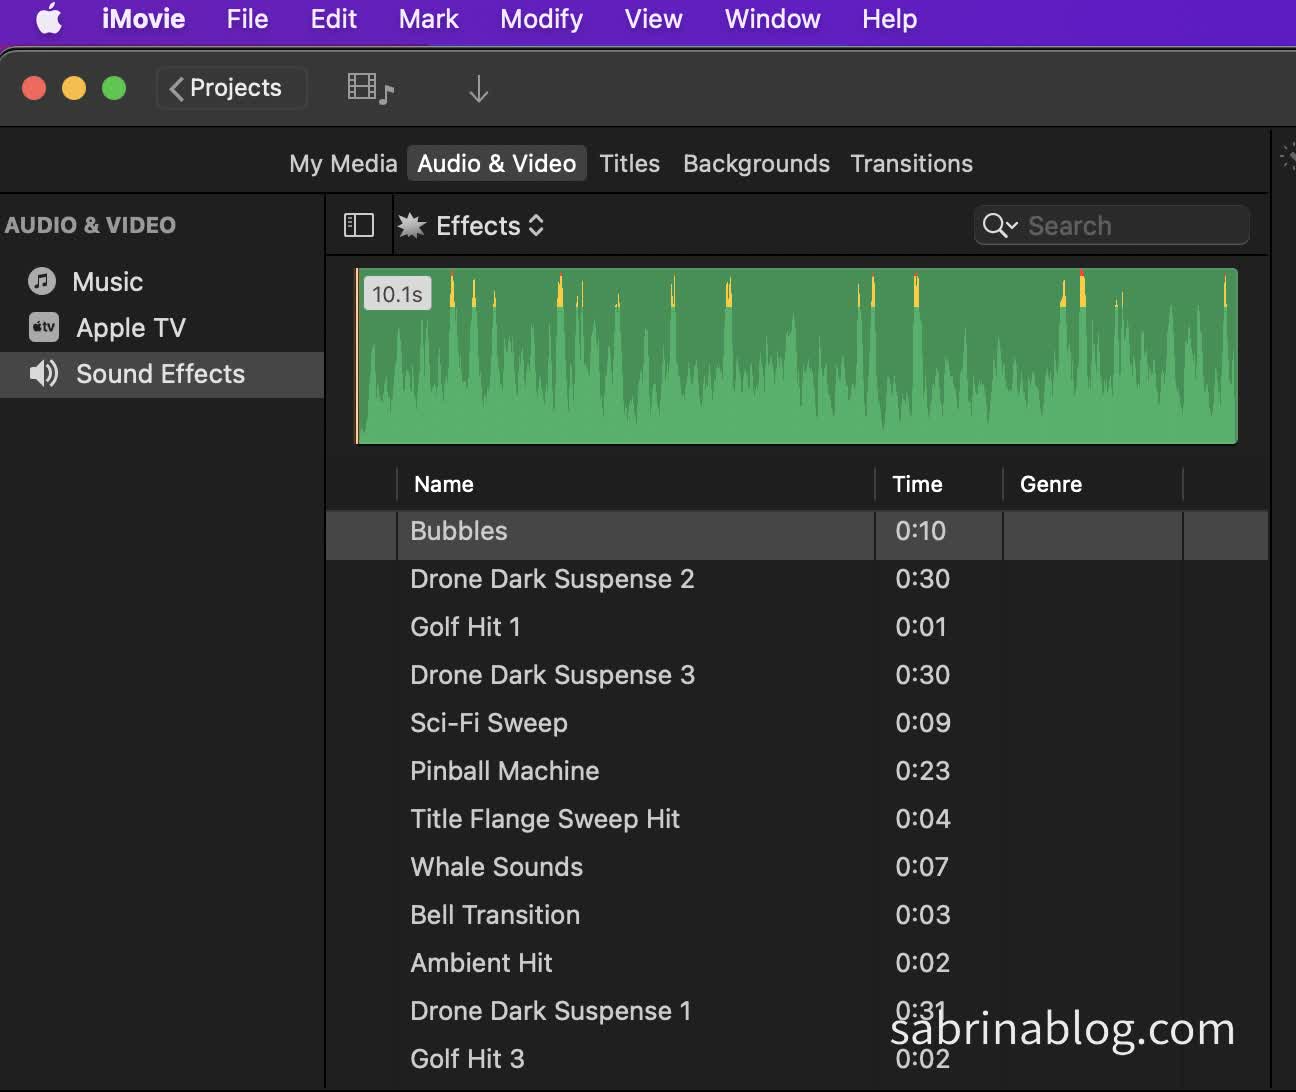
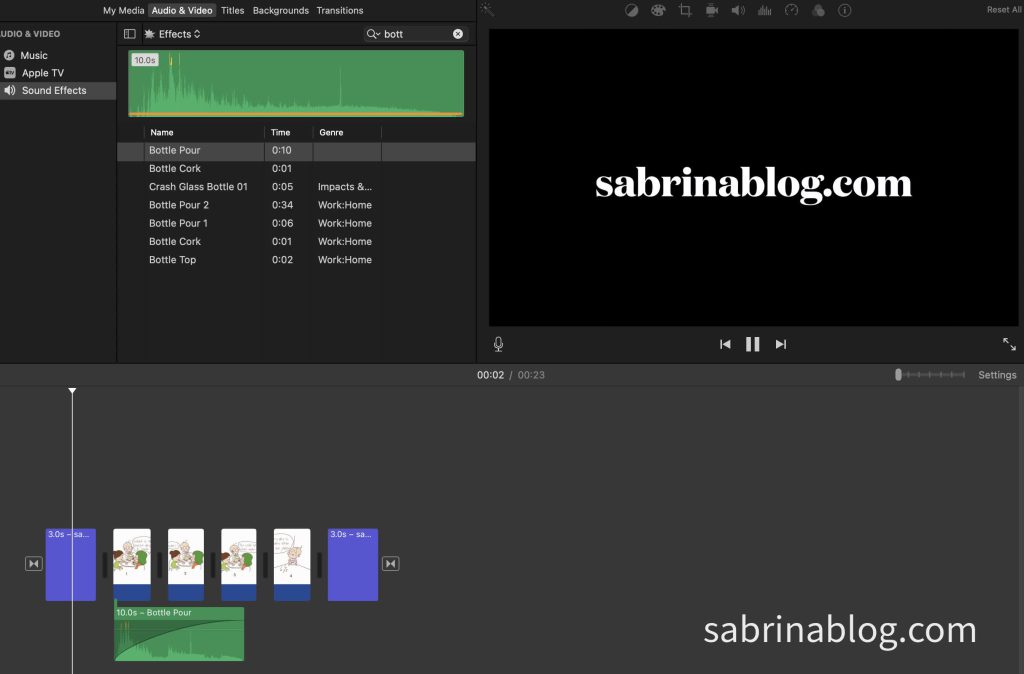
Click the ‘Audio & Video’ tag and drag the sound or music under your pictures if you want to apply the sound effect. Or you can put it wherever you want to set the sound result.
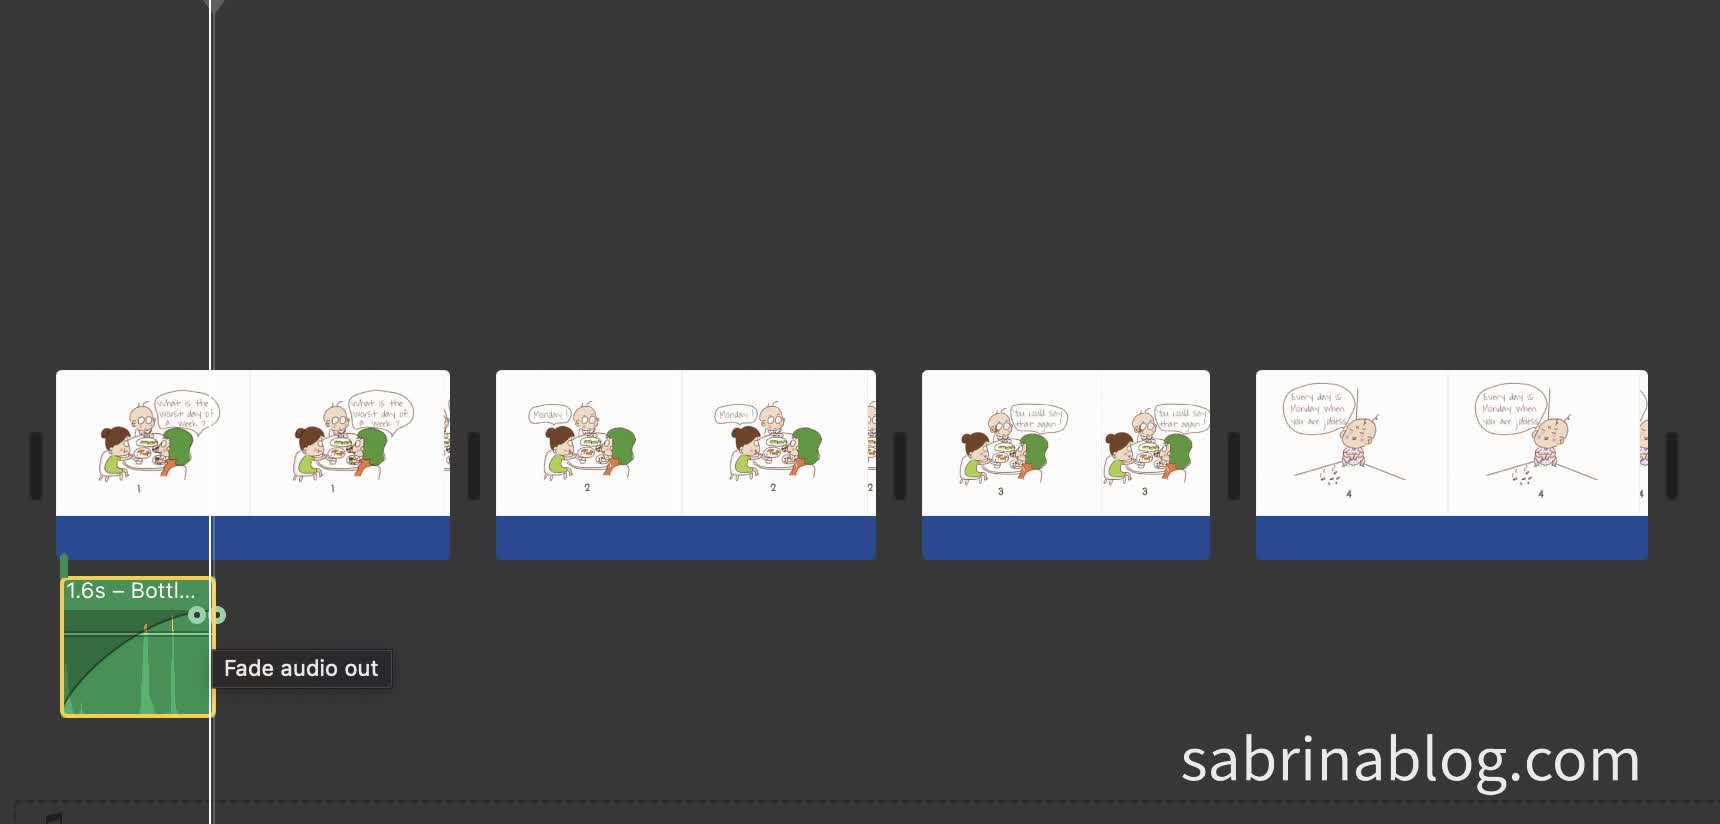
If you want to set the sound to be faded out, put the arrow of your mouse on the sound, and you can see the little round circle icon, drag it to the right. When it shows the triangle shape, it has been done.

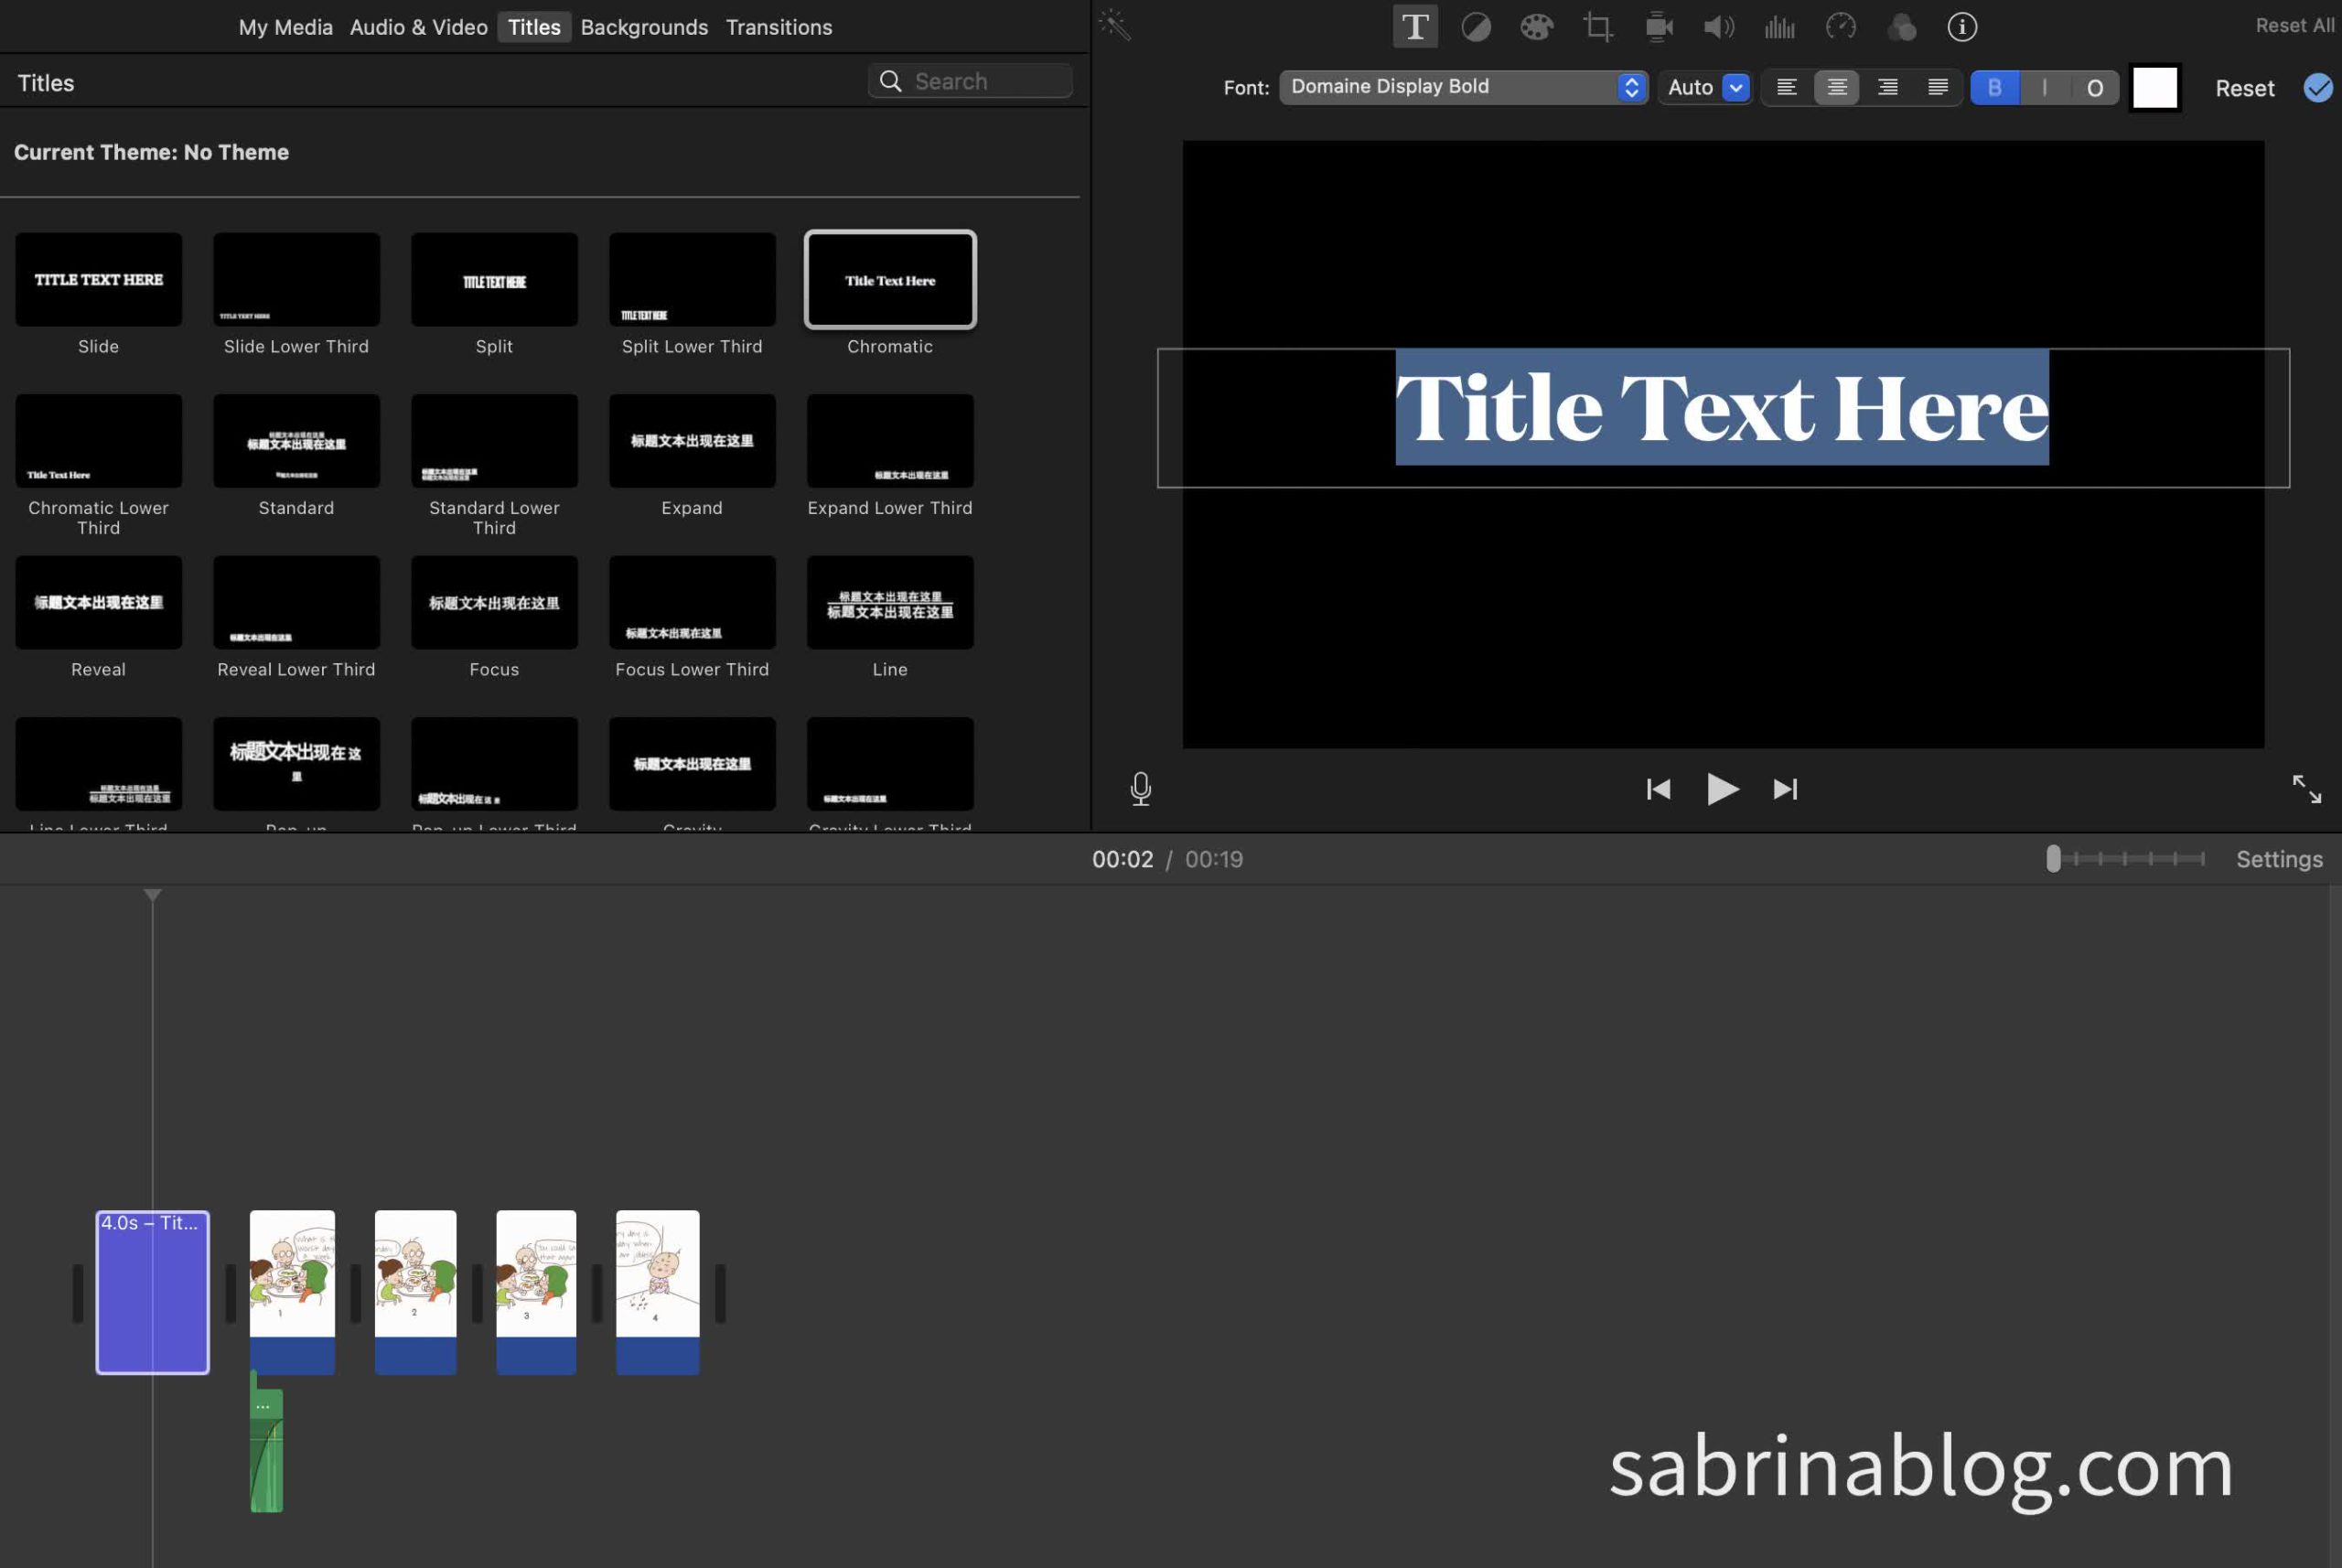
Click on the ‘Titles’ tag, choose a proper format, and then you can type text on your video.
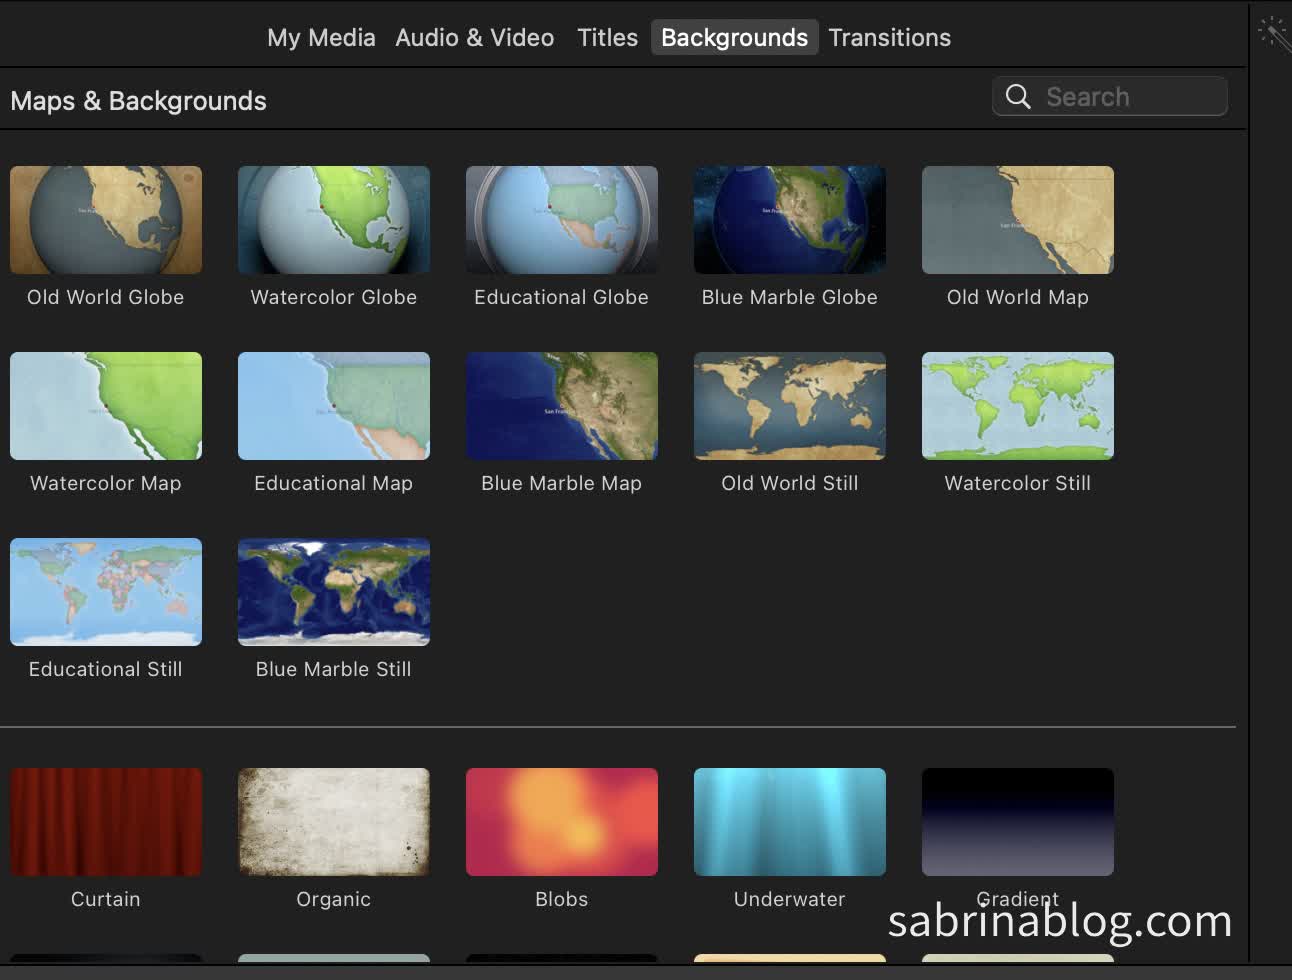
You can also add some backgrounds to your video if you want.
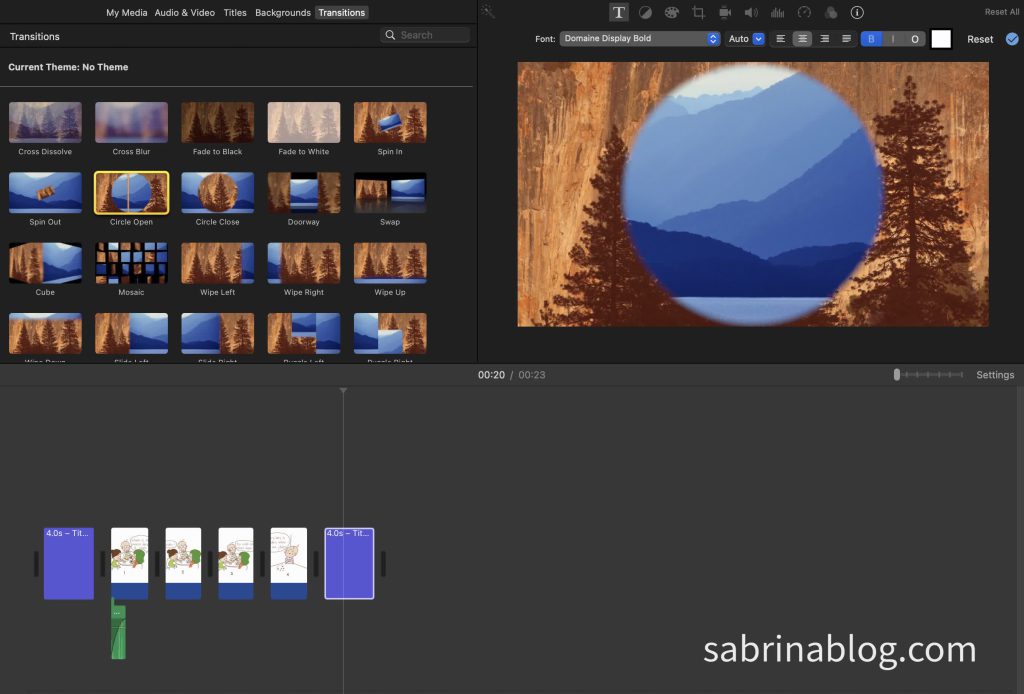
Put transitions to your movie if you like. Here I put ‘circle open’ and ‘circle close’ at the film’s beginning and end.
Play it before you save your file or share it on social media. If the result is not what you want, modify it.
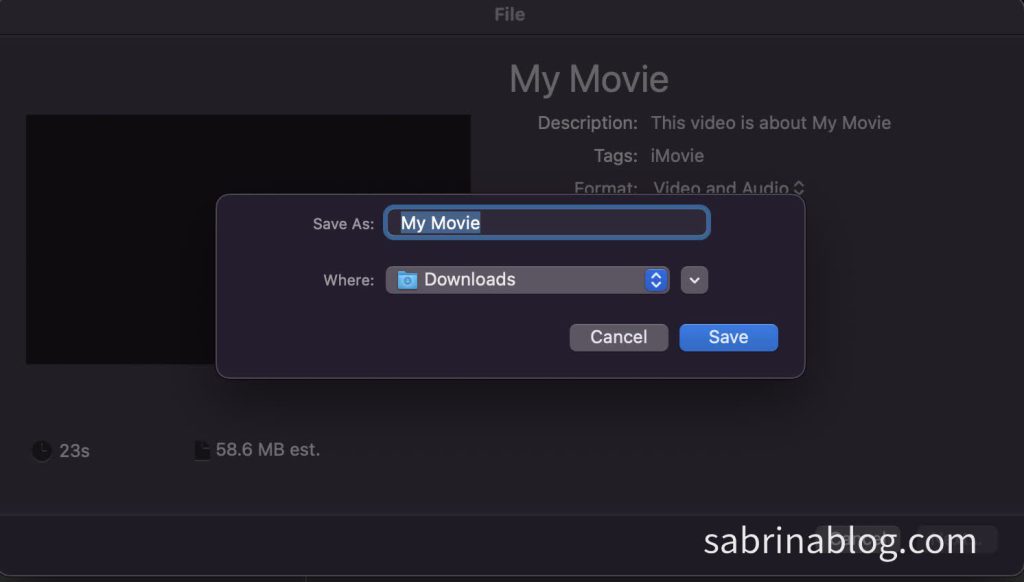
Click the button, and export the file, click ‘Next’. Give it a name, like ‘My movie’, and save it.
After that, enjoy your movie!




Leave a Reply
You must be logged in to post a comment.